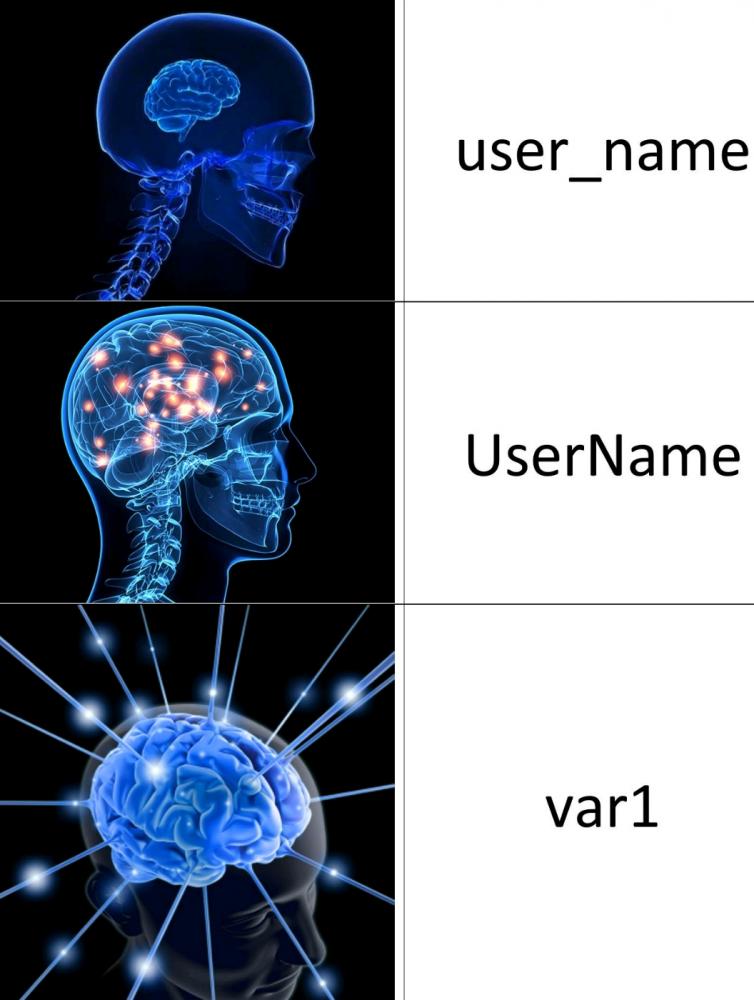
First we had findViewById. Then we had Butterknife. Then came Kotlin Synthetic. Now, an even better way of referencing our XML views takes the stage.
View Binding, not to be confused with Data Binding (more on that later), is a new feature in Android Studio 3.6. Once enabled, XML layouts will generate a binding class containing references to all their views (with IDs). These references can then be used in your Activity/Fragment class to access the view directly without the need for findViewById or Kotlin Synthetic.
Advantages of ViewBinding
View Binding may be the new hip way of referencing views in the layout, but there’s no point in using it if we don’t understand why we’re using it.
Advantages over findViewById
Null Safety – View Binding creates direct references to views, so you physically can’t get a reference to a null view. The one exception to this statement is if you have multiple configurations of the same layout, in which case, the Binding class will generate the reference to that view as @Nullable. You can then use regular Kotlin null-safe methods to handle this.
Type Safety – The references are all their respective types. A TextView is referenced as a TextView. This means there’s no risk of a class cast exception.
Reduced Boilerplate – findViewById is ugly. That’s a fact.
Advantages over Kotlin Synthetic
Cross-module support – Kotlin Synthetic doesn’t support passing references to views between modules. On the other hand, a Binding object can be passed through any means and still contain the references to the right views.
Java + Kotlin – Kotlin Synthetic has the disadvantage of being exclusive to Kotlin. If you have to work with Java code in your project, you have to resort to findViewById, Butterknife, or some other method (unless you opt for View Binding).
Exposes nullability across configurations – As mentioned earlier, if a view is present in one configuration of a layout but not the other, it will be generated as nullable. Kotlin Synthetic doesn’t do this and can lead to null pointer exceptions.
While Kotlin Synthetic is a great, lightweight, and easy-to-use API for referencing views in the layout, it was never intentionally recommended by Google. A Developer Advocate for Android on Reddit explains this beautifully.
Another general advantage to View Binding is you have more freedom naming your view IDs, since a Binding will only recognise the views its concerned with.
Trying to think of ID names
How to use View Binding
Enable it for your app module by adding this to your app/build.gradle file.
android {
    ...
    viewBinding {
        enabled = true
    }
}
If you need to keep lightweight and want View Binding to ignore specific layout files while generating Bindings, add this to the root view of that layout.
<LinearLayout
        ...
        tools:viewBindingIgnore="true" >
    ...
</LinearLayout>
In your XML Layout, each view with an ID will have a reference to it generated by the Binding.
fragment_main.xml
<TextView
    android:id="@+id/name"
    android:layout_width="wrap_content"
    android:layout_height="wrap_content" />

<ImageView
    android:id="@+id/photo"
    android:layout_width="256dp"
    android:layout_height="256dp" />

<Button
    android:id="@+id/randomize"
    android:layout_width="wrap_content"
    android:layout_height="wrap_content"
    android:text="Randomize" />
A binding class for this XML layout then gets generated as FragmentMainBinding. This Binding class will have 3 fields: name, photo, and randomize. These fields will be in their respective types. The second TextView in this layout has no id, thus no field will be generated for it.
In your Activity, you can now use the inflater to utilise your Binding.
private lateinit var binding: ActivityMainBinding

override fun onCreate(savedInstanceState: Bundle) {
    super.onCreate(savedInstanceState)
    binding = ActivityMainBinding.inflate(layoutInflater)
    val view = binding.root
    setContentView(view)
}
The same goes for Fragments, albeit slightly different.
private var _binding: FragmentMainBinding? = null
private val binding get() = _binding!!

override fun onCreateView(inflater: LayoutInflater, container: ViewGroup?, savedInstanceState: Bundle?): View {
    _binding = FragmentMainBinding.inflate(inflater)
    return binding.root
}

override fun onDestroyView() {
    super.onDestroyView()
    _binding = null
}
Fragments can outlive their views, so we need to clean up any references to our views in onDestroyView.
Once our bindings are set up in our Activity/Fragment, we can reference our views like so.
binding.name.text = viewModel.breed
binding.randomize.setOnClickListener { viewModel.getRandomDogBreed() }
View Binding vs Data Binding
View Binding has some obvious advantages over other view referencing methods, but there’s a bit more to the decision between View Binding and Data Binding. Each has its own advantages over the other.
View Binding Advantages
Faster compilation – View Binding doesn’t use annotation processing resulting in faster build times.
Ease of use – Add it to Gradle and a bit of setup in your Activity/Fragment and you’re good to go with View Binding. Data Binding is a bit more involved.
Data Binding Advantages
Dynamic XML UI – Data Binding supports Layout Variables and Layout Expressions, so dynamic UI can be achieved straight from the XML layout itself.
Two-way data binding – A feature which Data Binding supports, but View Binding doesn’t.
In short, View Binding is meant to be a simpler and more lightweight method for providing references to views. You only want to use Data Binding if you need to use the extra-functionality provided by it.
It is thus, a good practice to use a combination of both in your app. Use Data Binding for layouts that require this advanced functionality, and View Binding for layouts that don’t.
